Gaming
‘Vision wins games’ is an unwritten rule for professional Dota 2 players.
Vision lets you know where the opposition heroes are moving about, some of the items they might be carrying, and how they might be strategizing to attack.
This can be vital to planning your own attacks and understanding where your team might gain an advantage on the map.
Omkar ‘PasoLL’ Urunkar is one of India’s top Dota 2 players. He has played for some of the best teams in the country such as Aggressive 5, Signify, LXG and Global Esports, and has also represented India in a variety of international events.
We ask him for his tips on when, how and why you should ward.
What are wards?
In Dota 2, your hero has some amount of vision around them where you can see everything. Similarly through shared vision, you can see everything around your teammates’ heroes, that of friendly creeps, towers, controlled units and summons. The rest of the map is covered by the fog of war, i.e. you don’t have vision and don’t know what is happening in those areas.
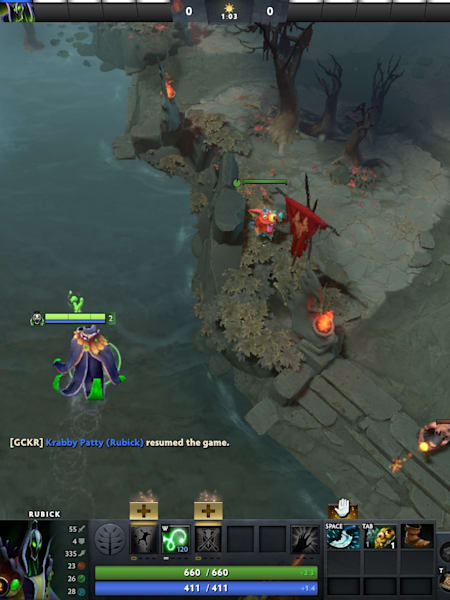
The best way to obtain vision is through the wards. Wards are static items that can be placed on most locations on the map to grant you vision in that area. By granting you vision, wards help you spot enemy heroes that move by, thus giving you information to help make decisions.
Types of wards
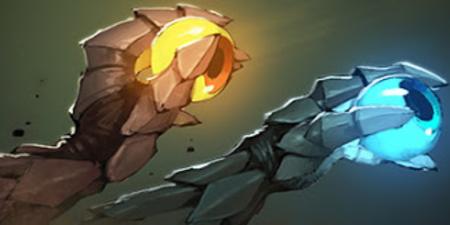
There are two types of wards in Dota 2 – observer wards and sentry wards.
Observer wards provide vision in a 1,400-point radius around the ward. However, they cannot spot invisible units and the vision can be obstructed unless placed on an elevation. Observer wards become invisible after placement but can be detected by the enemy using several detection skills and items; upon detection, they can be destroyed. A team starts the game with two observer wards and can have a maximum of four at any point of time; one ward will replenish every 135 seconds. Observer wards are free to buy and are fully shareable. Once placed, they last for six minutes or until destroyed.
Sentry wards grant visibility on enemy wards and invisible units, but they provide no vision on their own. They can be destroyed in a similar fashion as observer wards. A team starts with three sentry wards and can have a maximum 10 sentry wards at any time; one sentry ward will replenish every 85 seconds. They last for eight minutes once placed and can be purchased for 75 gold each.
When and how to ward?
Warding depends on your team composition and the state of the game. Place your wards based on which areas of the map you want to control, which areas of the map you want to deny control, and what are is your gameplan for the match.
The laning stage
PasoLL says a good rule of thumb is to have the midlaner and the offlaner/soft support of your team carry wards in the beginning of the game. He says the midlaner should place their ward based on what they want to achieve. For example, if the midlaner wants to keep an eye on the enemy’s roaming support, they could place a ward closer to the enemy offlane to watch for a rotation. If your team needs to control the runes, place a ward near the rune spots to secure the lane. Having vision on the enemy high ground also helps control creep equilibrium to give your team an edge.
In the offlane, there are two strategies with respect to warding, PasoLL explains. If you have a favourable match-up, use a ward to watch their heroes in the backline of a battle so you can deny them the chance to retreat. If the enemy is strong, place a ward to watch over the neutral creep camps. This will help you maintain information and make good decisions on when to attack and when to sit back.
The first night
The next important ward timing is five minutes into the match, when the first night cycle is about to hit. Night time reduces vision on most heroes and is when ganks start to take place.
PasoLL says that in most high-level games, the first night is when the midlaner rotates to other lanes or supports rotate to the mid lane. He says it is mandatory to place a ward in the mid lane at the five-minute mark. He also suggests placing a ward in the safe lane to protect the carry hero; the ward allows the support hero to leave the safe lane and make plays elsewhere on the map while the vision helps the carry make the decision on when to push the lane aggressively and when to fall back.
Other warding basics
PasoLL says it is best for the support players to carry a ward with them at all times. “Whenever your team uses Smoke of Deceit to try and pull off a gank, make sure you have a ward. You never go into the fog of war when smoked,” he adds. He says that the cover of smoke will allow you to go unnoticed deep into the enemy territory to place your own ward.
Another important place where wards are required are team fights. Good support players will always put down wards instantly when a fight starts to allow teammates more vision. PasoLL says vision wins team fights, even if a team has a numbers disadvantage. Since fights in Dota 2 require good target prioritization, vision to the backlines via the ward is actually a very understated advantage in a team fight. If a fight breaks out, put down the ward, says PasoLL. If you could place it on a nearby cliff, that is perfect; if not, place one anyway.
Win the warding battle, win the match
A key concept in the art of warding is to put down your wards first. This will give you the ability to track enemy movements. Even if you don’t want to make any moves, warding helps you keep track of how enemy heroes are progressing up levels and the items they are carrying. Warding also lets you know the direction an enemy support is walking. Clicking on the enemy heroes will allow you to check whether they are carrying wards, which in turn will help you guess where they might have placed those wards to later destroy. Just as gaining vision helps you, denying your enemy vision makes them disadvantaged.

