Gaming
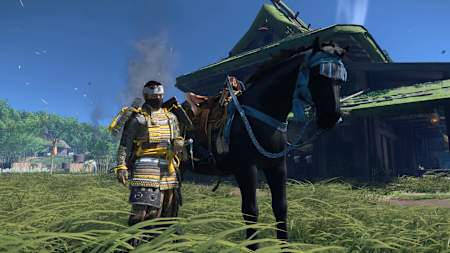
Throughout your time liberating Tsushima, you’ll come across various different quests. As well as the story quests, there are also tales for each supporting character (Yuna, Masako, and so on), one off NPC missions to flesh out the world, and seven Mythical tales. These quests are given to you by various musicians around the island, and these special side missions see you unlock either a Mythical ability or a special piece of armour. They often end in boss battles too, so make sure to check out our Boss Battles Guide if any of them give you trouble.
Act 1
There are three missions available to complete in Act 1, which unlock gradually as you complete central Story quests. Jin’s first few quests after the Prologue are mostly tutorialising; teaching you how the combat works, and offering a few Technique points to start building him up. Don’t go straight for the Mythic tales, then – explore a little bit before you get down to these specific quests. By the same token, don’t leave them too long – especially The Heavenly Strike, as that unlocks one of the most useful abilities in the game.
The Legend of Tadayori
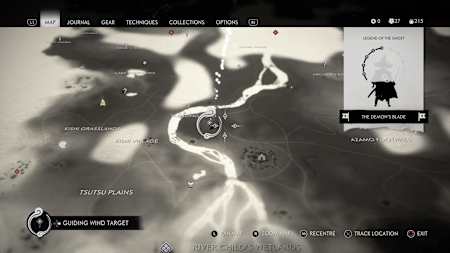
Start this quest South of Rusting Bend River, beneath the ‘Bend’ on the map
© Sony Interactive Entertainment
Where: South of Rusting Bend River – beneath the ‘Bend’ on the map
What: Tadayori's Armour – Great for archery
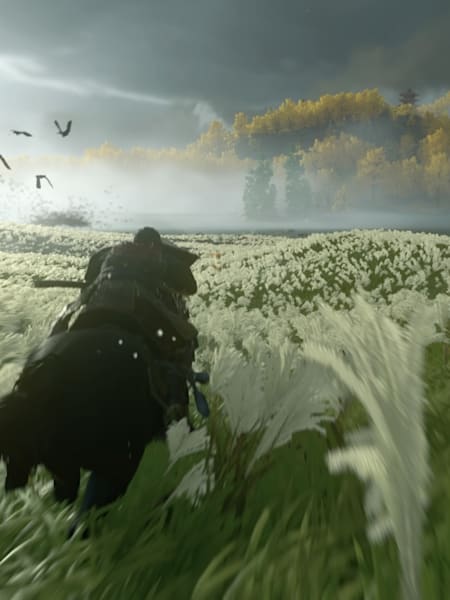
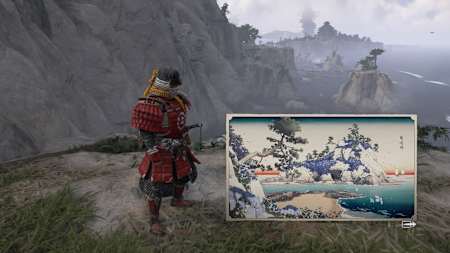
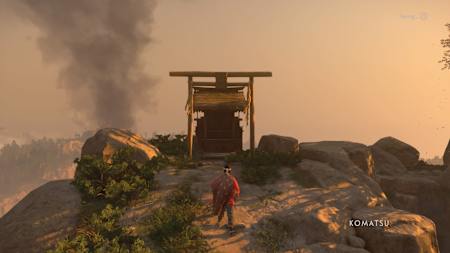
Speak to Yamoto near Rusting Bend River, then follow the wind to a grove with violets. Climb up this grove and onto a mountain, where you’ll receive a painting with the location of your next objective. The wind will not help here, but luckily you can see where you need to go from your vantage point on the mountain. You won’t be able to make out the flowers in the painting from this distance, but if you walk around the mountain, you’ll see bright orange trees in the distance: this is where you need to head.
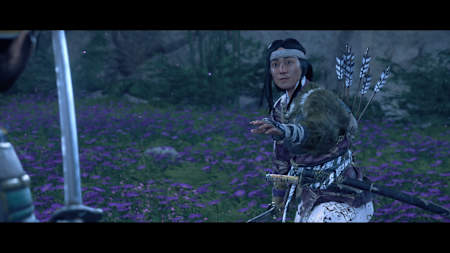
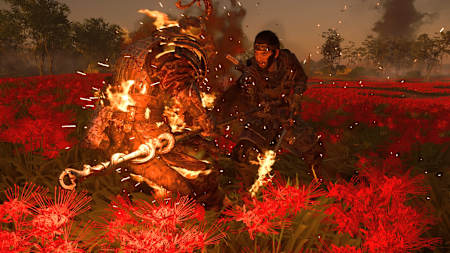
Once there, go through the trees and you'll see more flowers. Circle around and look for a crack in the wall. Slip through here and investigate the altar, which will initiate a boss battle with Kaeda. She’s fairly straightforward and shouldn't give you too much trouble.
During the fight, Kaeda will realise you aren’t a bandit in samurai armour, but are actually a samurai, and will direct you to Azamo Bay. Follow the wind to a mountain top, where you’ll see a familiar musician waiting for you. Turns out he’d been guarding the armour all along, and this whole escapade was just a test. Before you can collect the armour, though, you’ll need to take out some Mongols.
Some will run at Yamoto with flashing red skulls over their heads; these aim to kill him and must be taken out quickly. The archers won’t go for Yamoto, but they will overload you, draining your health and making it difficult to take out the runners. Deal with these from a distance via bow or projectile, and try to stay close to Yamoto. Running at them gung-ho leaves him overexposed. Once you’ve put enough of them down, the armour is yours.
The Curse of Uchitsune
Where: Hiyoshi Springs
What: Longbow
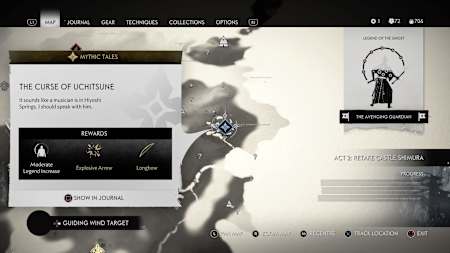
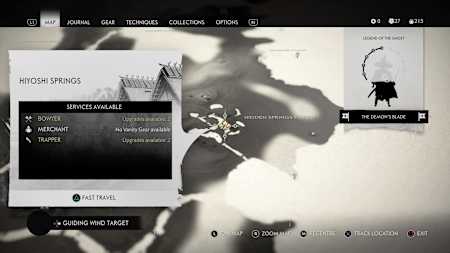
This is the second painting-driven Mythic tale and is initiated by speaking to Yamoto at Hiyoshi Springs. He’ll direct you to a huge stretch of land along the nearby coast to comb for blue flowers, but luckily their location is right in the middle of this area, and they’re easy to find.
These flowers lead you towards a cliff, and if you look around you’ll find a crack you can squeeze through. Make your way through the tomb you find yourself in to find a painting which directs you to more blue flowers, this time on a small peninsula.
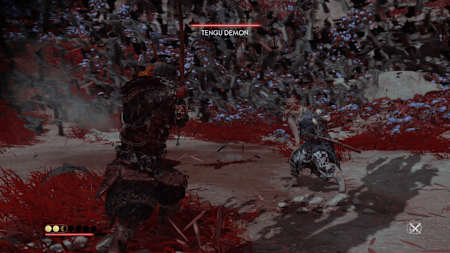
As you exit the cave, someone in a Tengu Demon mask will fire a warning shot at you and warn you to abandon your quest. Of course, you're not going to listen to them. The peninsula can be found near the top of the map’s search area, with a path of blue flowers leading you safely down the coast. Inside the peninsula’s tomb, you’ll find another painting, and you will exit to another Tengu Demon warning.
This final search area, again, has a large area circled on the map, but the trail of flowers starts just to the left of the centre. Follow the flowers take you up the hill and through some rock formations to find the Longbow on the altar. Take it, fight a Tengu Demon, and the bow is yours to keep.
The Heavenly Strike
The Heavenly Strike can be tough to unlock, but it's worth the effort
© Sony Interactive Entertainment
Where: River Falls Bridge
What: Heavenly Strike move
The Heavenly Strike is only available once you’ve completed a few missions in Act 1. Check back after you’ve met Masako for the first time. Don’t leave it too long though – Heavenly Strike is a great, relatively easy attack which helps with quickly damaging bosses and carving through enemy camps.
Speak to Yamoto then follow the wind to a nearby woman weeping under a bridge. She’ll direct you to a weak Mongol camp with a hostage; kill the Mongols and speak to said hostage to get directions to ‘a white leafed tree’, which means heading to the Plum Blossom Shrine. This is supposed to serve as your introduction to how Shrines work in the game, with some basic jumping and climbing platforming sections required to reach the top.
From here, you’ll head to a grove of white trees - easily visible from the Shrine - and will be tasked with clearing out yet more Mongols. After this, the final hostage will give you directions to Shigenori's Rest. There’s a little bit of scrambling over obstacles and squeezing through rocks, but it’s not exactly hidden away. This brings you to your final group of Mongols to slay.
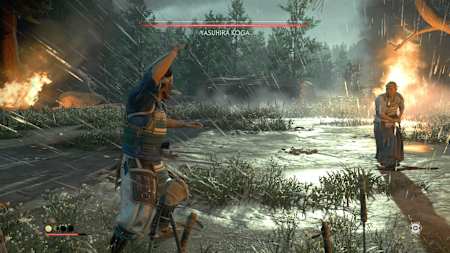
At this point you’ll fight the boss Yasuhira Koga; make sure to dodge his own Heavenly Strikes, then defeat him and learn his power.
Act 2
There are a further three Mythic tales in Act 2, two of them being spread out and offering armour, whilst a third (much more linear) quest offers a very useful power. Act 2 is probably the busiest act in the story, but you should definitely make time for The Spirit Of Yarikawa’s Vengeance, at the very least.
The Unbreakable Gosaku
Where: Akashima Village
What: Gosaku’s Armour - Increases health, stagger and healing
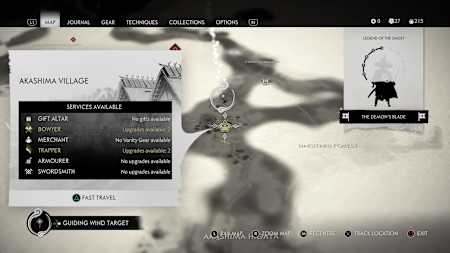
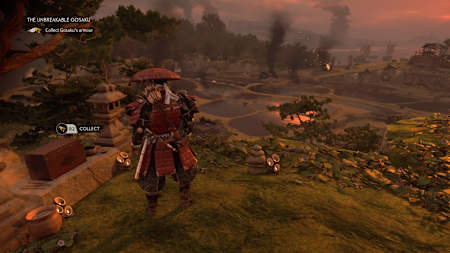
In Akashima Village, Yamoto tells you of the six keys to Gosaku’s armour; these are all currently hidden in farmsteads across Tsushima, which become highlighted on the map once this quest is accepted. Finding them is relatively straight forward, and collecting each one is a pretty similar experience, too.
Each farmstead has between two to four hostages, and going in loud puts them at risk. You’ll know a hostage is in danger when a black shield flashes above their head, and a red skull appears above the Mongol trying to kill them. At this point, your cover will already be blown, so take out the Mongol causing the threat immediately and focus on protecting the hostage.
Luckily, each farmstead is a considerable size and the hostages are spaced out, so even if you blow your cover on one, you can still try and sneak around the guards for the rest. You can’t free the hostage while enemies are in the vicinity though – so it’s assassinations, blow darts and Wind Chimes you’ll need.
Once you get the six keys, be prepared for a fight to find Gosaku's armour
© Sony Interactive Entertainment
Once you’ve recovered all six keys, the location of Gosaku’s armour will reveal itself. Head to the revealed location and you’ll find Mongols trying to break down the locked door without the keys. Get rid of them in the usual way and then make your way through the door to find Gosaku’s armour. When fully upgraded, it’s one of the best sets of armour in the game, and you'll find it incredibly useful in an action run.
The Six Blades of Kojiro
The Six Blades of Kojiro can be started before you've collected the quest
© Sony Interactive Entertainment
Where: Umigi Cove
What: Kojiro’s Armour - Gives a Legend boost
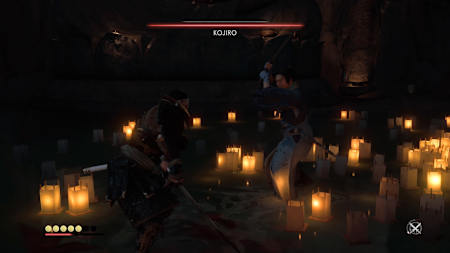
Most of this one is covered in our Boss guide, as it requires you to fight five Straw Hat ronin, followed by their leader – and alleged demon – Kojiro. These duels appear on the map right from the start of Act 2 and you can clear the encounters before you even technically begin the questline.
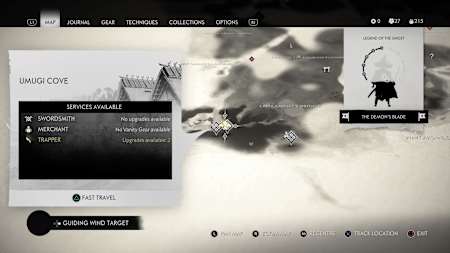
To initiate the quest, speak to Yamoto in Umugi Cove. This location is also the origin of Kenji’s Act 2 tales and several story quests, so you’ll be heading there a lot anyway. You can fight the first five ronin without officially starting the quest, but you’ll need to speak to him before Kojiro is unlocked. Nothing too taxing here, the map locations are marked, the dueling grounds are clearly highlighted by a large ring on the ground, and the fight begins as soon as you talk to each ronin. Kojiro is inside the cave rather than out on the rocks, but other than that there’s not too that'll make this quest difficult.
The Spirit of Yarikawa's Vengeance
Where: Rebel’s Last Stand
What: Dance Of Wrath
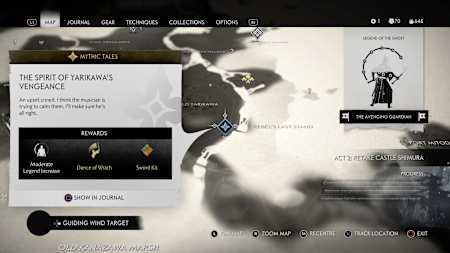
This is the most linear Mythic tale in the game, and involves you running around a fairly short trail, hunting for altars with burning incense, notes, and offerings to a spirit that brings wanton destruction.
Keep your eyes peeled to stay hot on the trail of the violent spirit
© Sony Interactive Entertainment
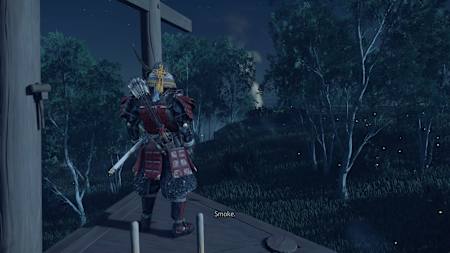
While the wind won’t help you on the trail, the incense is clearly visible as smoke in the sky. If you’re ever stuck, climb a watchtower or a cliff and look around; you’ll never be too far away as long as you stick to the search area. Each time, Jin will be too late to catch the Spirit, but will often see the devastation she has wrought. After hitting a few locations, Jin finds the final scroll: someone has asked the spirit to kill Jin.
Head to the Garden Of The Gods – nearby peasants will help direct you – and prepare to battle the spirit. She’s not too tough, but our Boss guide has got your back if you need some tips.
Act 3
There’s only Mythic tale in Act 3, and while there’s limited combat, it’s still perhaps the toughest one the game offers.
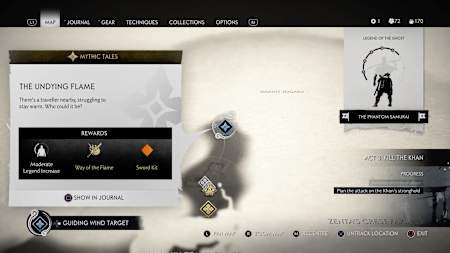
The Undying Flame
The Undying Flame offers the most challenging Mythic tale in the game
© Sony Interactive Entertainment
Where: Mount Jogaku
What: The Way Of The Flame
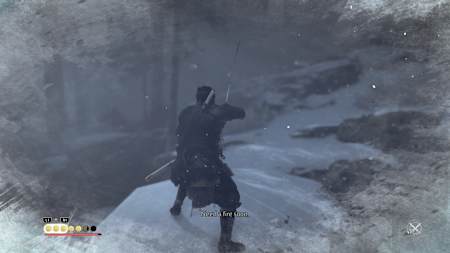
Just north of Jogaku Temple, you’ll find Yamoto at the base camp for Mount Jogaku. He’ll be struggling to light a campfire, and helping him out will initiate the quest. Your challenge is to reach the peak of the mountain, but it’s deathly cold and you must make your way from campfire to campfire without succumbing to the elements.
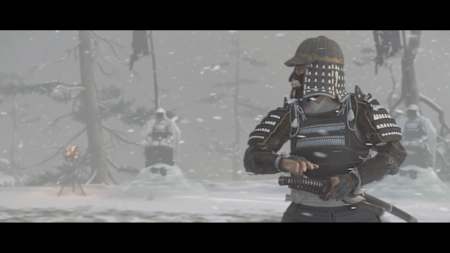
It all gets a bit Breath Of The Wild here. It’s difficult to see your way ahead in the snowstorm, and while the earliest fires are already lit – and so guide you onwards – halfway through you’ll meet a traveller who has given up, and from then on the fires get harder to find. If you take too long, the screen will frost over and Jin will freeze to death.
Looking for branches or rocks to grab typically leads you the right way, but if you ever get lost just double back, get warm, and try again. Occasionally dogs will attack you, and it’s often best to either hit them with the bow while you’re still in the warmth, or kill them with your sword, retreat to the fire, then advance again.
Eventually, you reach a temple at the top and will learn the Way Of The Flame from Bettomaru. He’s a tough boss – once again handled in our Boss guide – if you don’t keep an eye on his flame, but considerably easier if you wait until his fire goes out. Defeat him to learn his power, and with that, you’ll have uncovered every myth in Tsushima.

